Rocket Spleef Pickup Reference Tables
Neutral lookup for all five in-match power-ups.
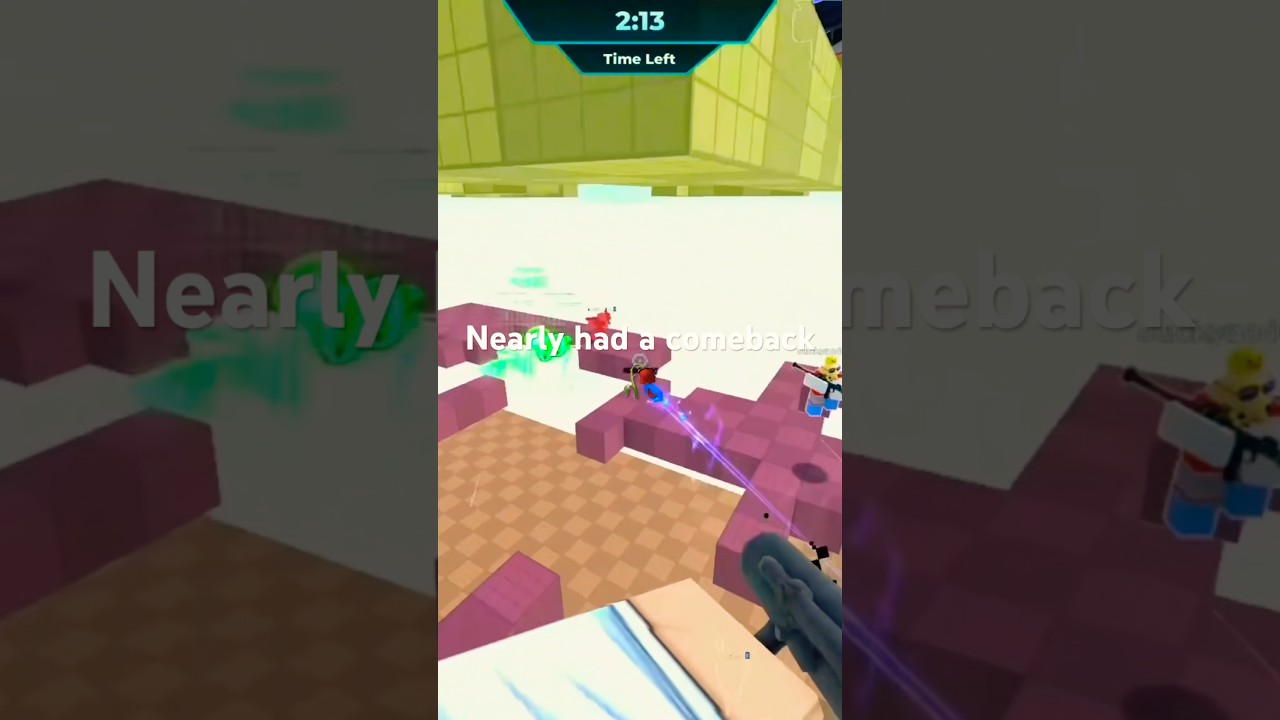
Use this page as a neutral reference during or between Rocket Spleef matches. For opinionated rankings, see the Pickup tier list. For learning routes and tech, see Movement and Positioning.
Blammo Works currently ships five recurring pickups. Names and effects below match content/facts.json and live tooltips as of the March 2026 release window. After Updates patches, verify footnotes here.
Master comparison table
| Pickup | Effect (summary) | Best when to take | Primary counter | Skill demand |
|---|---|---|---|---|
| Rapid Fire | Faster shot cadence | Chasing damaged tiles or holding a thin platform | Bait shots; break tile after they commit | Low–medium |
| Triple Shot | Three rockets per fire | Close-range duels; cutting bridges | Vertical dodge; range extension | Medium |
| Low Gravity | Reduced gravity; longer air time | Crossing gaps; escaping floor craters | Pre-aim landing zone destruction | High |
| Lifeline | Second chance after void fall | Contesting center; risky Mega lines | Force save early with chip damage | Low |
| Mega Rocket | Large blast radius | Endgames; deleting shared paths | Punish wind-up; stay off clustered tiles | Medium–high |
Rapid Fire
| Field | Detail |
|---|---|
| Effect | Increases fire rate beyond default launcher cadence for a limited duration or until consumed. |
| When to take | You are already in combat range; you hold a stable tile; opponent is on weaker footing. |
| When to skip | You must cross a single-tile bridge to reach it; you are winning without pressure. |
| Counters | Opponents destroy your tile after your first burst; Lifeline holders trade once intentionally. |
| Pairs with | Aggressive positioning and How to win center touches. |
Triple Shot
| Field | Detail |
|---|---|
| Effect | Each activation fires three rockets in a spread, deleting a wide voxel pattern. |
| When to take | Two enemies share a platform; you can fire downward into a pit; you block the only exit ramp. |
| When to skip | Long open sightlines with mobile Low Gravity targets; you stand on cracked center with no exit. |
| Counters | Strafe perpendicular to spread; force fights at range where spread wastes tiles. |
| Pairs with | Pre-read spawn arcs from Pickup tiers. |
Low Gravity
| Field | Detail |
|---|---|
| Effect | Lowers gravity—float longer, fall slower, extend jumps including rocket jump routes. |
| When to take | You know landing tiles; arena has vertical separation; you can avoid open sky sniper lines. |
| When to skip | You still learning basic jumps; multiple enemies have Rapid Fire on high ground. |
| Counters | Destroy landing pads; time shots at float apex; wait out duration without overextending. |
| Pairs with | Ledge grab stalls when gravity returns suddenly. |
Lifeline
| Field | Detail |
|---|---|
| Effect | Grants one recovery from a void fall—essentially a second life before elimination. |
| When to take | Before Mega Rocket plays; when contesting high-value center; when ahead and denying throws. |
| When to skip | You are farming edge safely with no void risk planned—give slot to hungrier enemy (optional mind game). |
| Counters | Chip damage into forced save; bait save then Triple Shot the recovery arc. |
| Pairs with | Insurance for aggressive Movement tech. |
Mega Rocket
| Field | Detail |
|---|---|
| Effect | Oversized projectile with massive tile deletion on impact—arena sculpting tool. |
| When to take | You hold height; final three players cluster; you can fire downward safely. |
| When to skip | You stand in a pit; your only exit tile is inside blast radius; opponent can punish wind-up. |
| Counters | Break line of sight during charge; force self-damage by fighting in tight pits. |
| Pairs with | Endgame rules on How to win. |
Quick decision flowchart (text)
- Can you reach the pickup without crossing a one-tile bridge? If no, skip unless Lifeline active.
- Are two enemies already fighting? Third-party after pickup if safe.
- Is it Mega Rocket on final island? Prioritize over Rapid Fire.
- Are you learning movement? Prefer Rapid Fire or Lifeline over Low Gravity.
Pickup spawn habits (general)
Exact weights are not published by Blammo Works without patch notes. Community observation suggests:
- Center clusters favor fight pickups (Triple Shot, Rapid Fire).
- Edge spawns occasionally offer Lifeline or Low Gravity.
- Mega Rocket appears less frequently but spikes endgame swing.
Report sustained changes on Like milestones weeks when player counts jump.
Tools vs tiers reminder
| Page | Purpose |
|---|---|
| This reference | Facts, counters, take/skip heuristics |
| Pickup tier list | S–D meta opinions |
| Cosmetics tier list | Voxel spending—not mid-match pickups |
| Tools hub | Index of wiki utilities |
Fair play note
Scripts that auto-grab pickups or highlight spawn pads violate Roblox rules. Use this reference with honest gameplay—see Scripts safety.
Related links
Frequently Asked Questions
Quick answers for Rocket Spleef on Roblox.
How is this different from the pickup tier list?
This page is neutral reference. The tier list ranks power level and meta priority with S–D tiers.
Do pickups stack?
Treat pickups as one active power unless patch notes say otherwise. Grab the best fit for your immediate fight.
Which pickup is best for beginners?
Lifeline and Rapid Fire forgive mistakes. Low Gravity demands aerial control—see Movement guide first.
Will this page update after patches?
Yes—footnotes change when Updates document new tooltip text or spawn behavior.