Rocket Spleef Pickup Tier List
Which power-ups win rounds—and which ones bait you into the void.
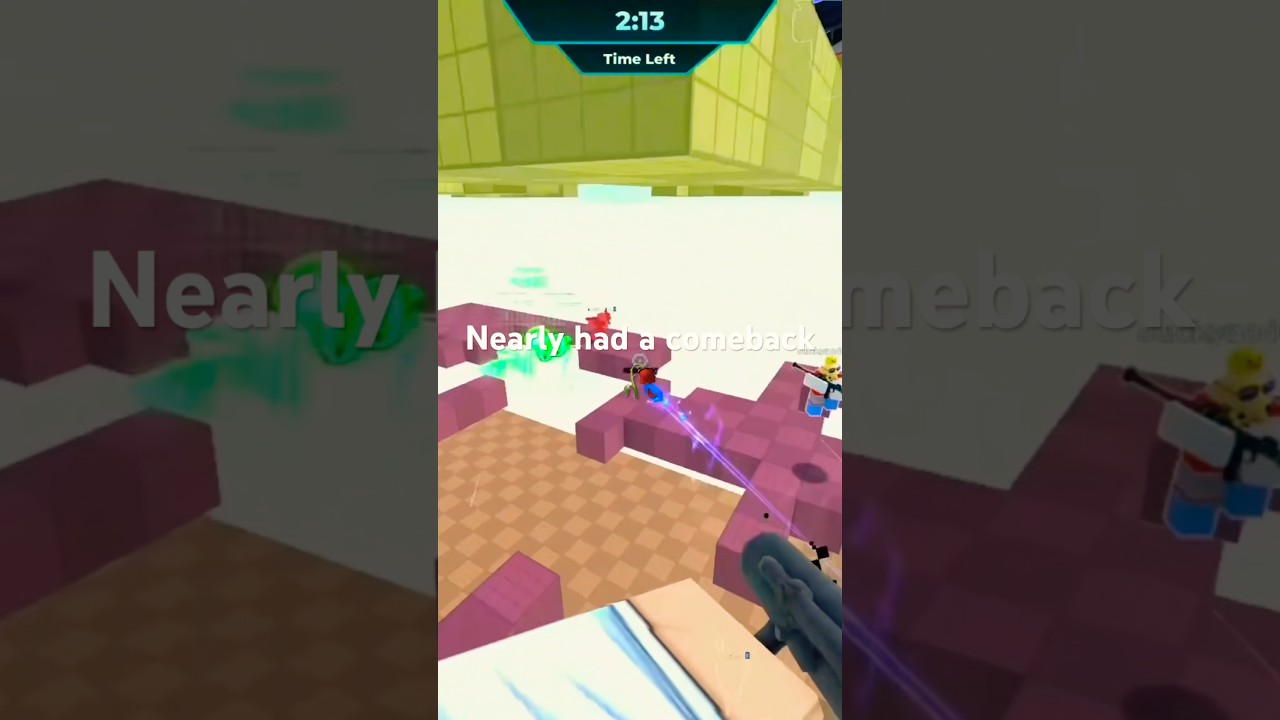
Mid-match pickups define Rocket Spleef tempo. Blammo Works spawns five recurring power-ups across shrinking arenas: Rapid Fire, Triple Shot, Low Gravity, Lifeline, and Mega Rocket. This page ranks them S through D for standard free-for-all lobbies since release (~18 March 2026). Rankings assume you already shoot competently; if you are still learning ledge saves, read Movement first, then return here.
Tiers measure round-winning efficiency, not fun. Low Gravity is hilarious for montages but drops if you cannot control float time near void edges.
Tier summary
| Tier | Pickups | Summary |
|---|---|---|
| S | Lifeline, Mega Rocket | Swing entire endgames |
| A | Triple Shot, Rapid Fire | Consistent fight winners |
| B | Low Gravity | High skill, high throw potential |
| D | — | No pickup is truly dead; situational passes only |
We keep an empty D row because every pickup can win niche scenarios—tiers describe average lobby value.
S Tier
Lifeline
Effect: Grants a second chance after a fatal void fall—essentially one extra life before elimination.
Lifeline is the strongest insurance policy in Rocket Spleef. Endgames punish greedy rocket jumps; one mis-timed blast under your feet sends you downward while tiles collapse. Lifeline converts that mistake into a learning moment instead of a lobby exit.
Take when: You plan to contest center pickups or chase Mega Rocket spawns on cracked terrain. Also strong when you are ahead and want to deny opponents easy eliminations on you.
Counters: Opponents can force Lifeline early with chip damage that pushes you off before you value the save. Bait the save, then punish the landing angle with Triple Shot.
Synergy: Pairs with aggressive positioning and the macro plan in How to win.
Mega Rocket
Effect: Oversized blast that deletes a large voxel footprint—massive arena sculpting.
Mega Rocket reshapes the battlefield faster than standard shots. In three-player endings, one well-placed Mega can delete the only path back to center, forcing opponents to rocket jump on your timing.
Take when: You hold height advantage or can fire downward into clustered enemies. Also incredible when the ring forces everyone onto one remaining island.
Counters: Long wind-up and self-damage risk if you fire in enclosed pits. Rapid Fire users can punish during recovery. Never fire Mega horizontally at point-blank unless you accept mutual void risk.
Synergy: Best after reading tile integrity from Positioning. Cross-check neutral stats on the pickup reference.
A Tier
Triple Shot
Effect: Fires three rockets per activation—wide tile deletion and pressure.
Triple Shot is the premier duel pickup. It turns narrow bridges into death traps and forces opponents to spend movement cooldowns dodging rather than sniping your feet.
Take when: You have line of sight to two or more enemies or can cut off a single escape route. Mid-game skirmishes reward Triple more than early farm phases.
Counters: Spread pattern wastes value at long range on small targets. Low Gravity foes can float above the volley if you fire too early.
Synergy: Combines with center control tactics in How to win. See also Cosmetics tier list—clear muzzle VFX helps track your spread.
Rapid Fire
Effect: Increases fire rate for sustained pressure.
Rapid Fire rewards tracking and footwork. It lacks Mega’s splash radius but excels at finishing weakened tiles under fleeing players.
Take when: You are already in a close chase or holding a thin platform you refuse to give up. Strong for players still improving aim who need more attempts per second.
Counters: Bait shots onto tiles you already planned to abandon. Lifeline holders can afford to trade poorly once.
Synergy: Practice cadence on Movement before relying on Rapid Fire in ranked lobbies.
B Tier
Low Gravity
Effect: Reduced gravity—longer hangs, extended jumps, slower falls.
Low Gravity enables creative routes: crossing wider gaps, surviving longer after rocket jump mistakes, and dodging Triple Shot patterns vertically. It also makes you predictable to experienced snipers who pre-aim aerial arcs.
Take when: You have mastered rocket jump timing and know arena ceiling limits. Situational take on maps with large vertical separation.
Counters: Delay your shot until the float peak ends. Destroy landing zones before they touch down.
Synergy: Not recommended for beginners despite flashy clips. Pair with conservative ledge grab routes.
When to skip a pickup
Pass power-ups when:
- The path crosses single-tile bridges and someone with Triple Shot watches you.
- You are winning without items—why risk Lifeline baiting when time is on your side?
- Mega Rocket would delete your own escape route—common on edge spawns.
Skipping is a skill. The pickup reference lists take/skip heuristics in table form for quick review between matches.
Patch awareness
Blammo Works adjusts spawn weights during milestone events documented on Like milestones. If Triple Shot frequency rises, S-tier fight pickups feel more common and Low Gravity paths get harder. Revisit this page after major Updates notes.
Related pages
- Cosmetics tier list — spend Voxels after you know pickup priority
- Tier list hub — hub overview and criteria
- Tools hub — neutral pickup tables
- Codes — milestone rewards that fund crates, not mid-match power
Frequently Asked Questions
Quick answers for Rocket Spleef on Roblox.
What is the best pickup in Rocket Spleef?
Lifeline and Mega Rocket sit at S tier for most lobbies. Lifeline forgives one void mistake; Mega Rocket controls space in endgames.
Is Low Gravity bad?
Not bad—situational. It is B tier because it demands strong aerial control and can be punished by patient aim.
Do pickups stack?
Assume one active power-up at a time unless patch notes say otherwise. Grab the highest tier available rather than hoarding routes.
Where can I see effects without opinions?
Use the pickup reference tool under Tools for neutral tables with counters and take conditions.